
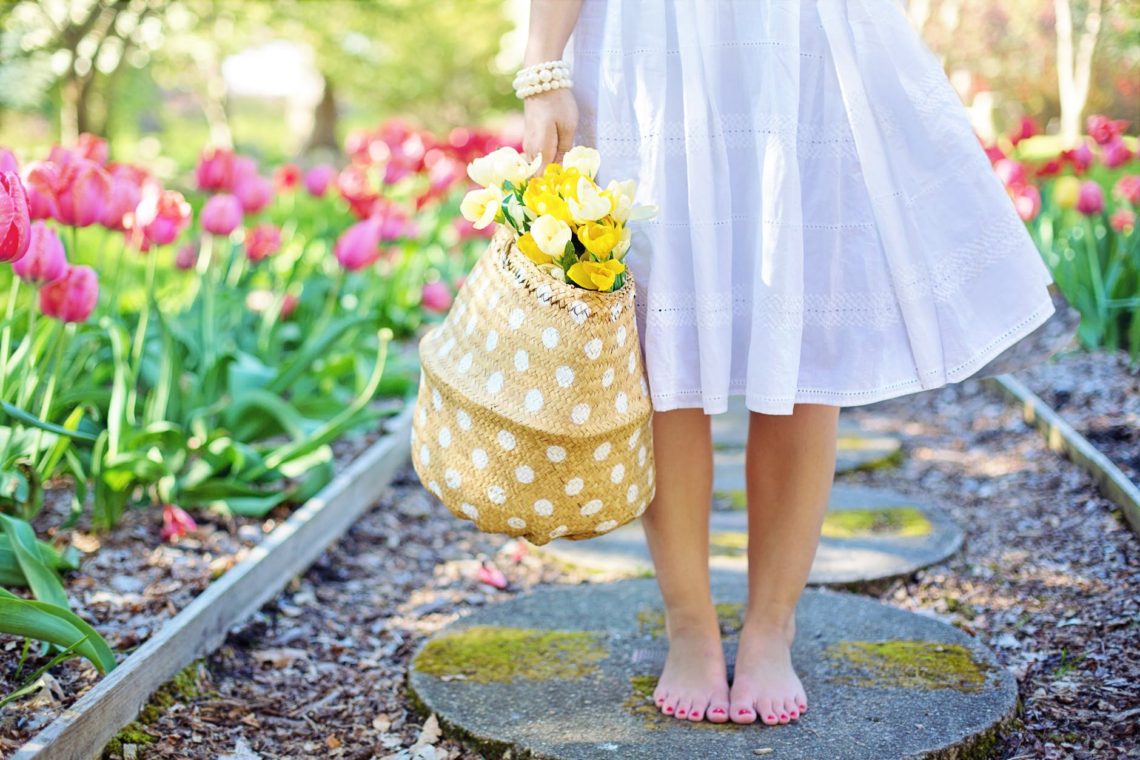
Getting Your Green Thumb Ready for Spring
It’s the middle of March, ladies! That means Spring is right around the corner, and this cold damp winter will soon be behind us. As the weather starts to warm and the snow melts, I’m itching to head outside and start clearing out my flower beds. The problem is, when should I start digging in the soil? If you live in the Mid-West like I do, Spring likes to play games with you. In Michigan, we joke that the seasons are as follows: Winter, Fool’s Spring, Second Winter, Mud Season, Actual Spring. Sometimes, there’s Spring of Deception and Third Winter just before Mud Season. I remember several instances of serious snow storms in April, including one that lasted into May! The moral of the story: you never want to expose your tender plants too early. While we can never predict the weather 100%, there are some key rules of thumb that will help keep your thumb green.
Winterizing Your Flower Beds
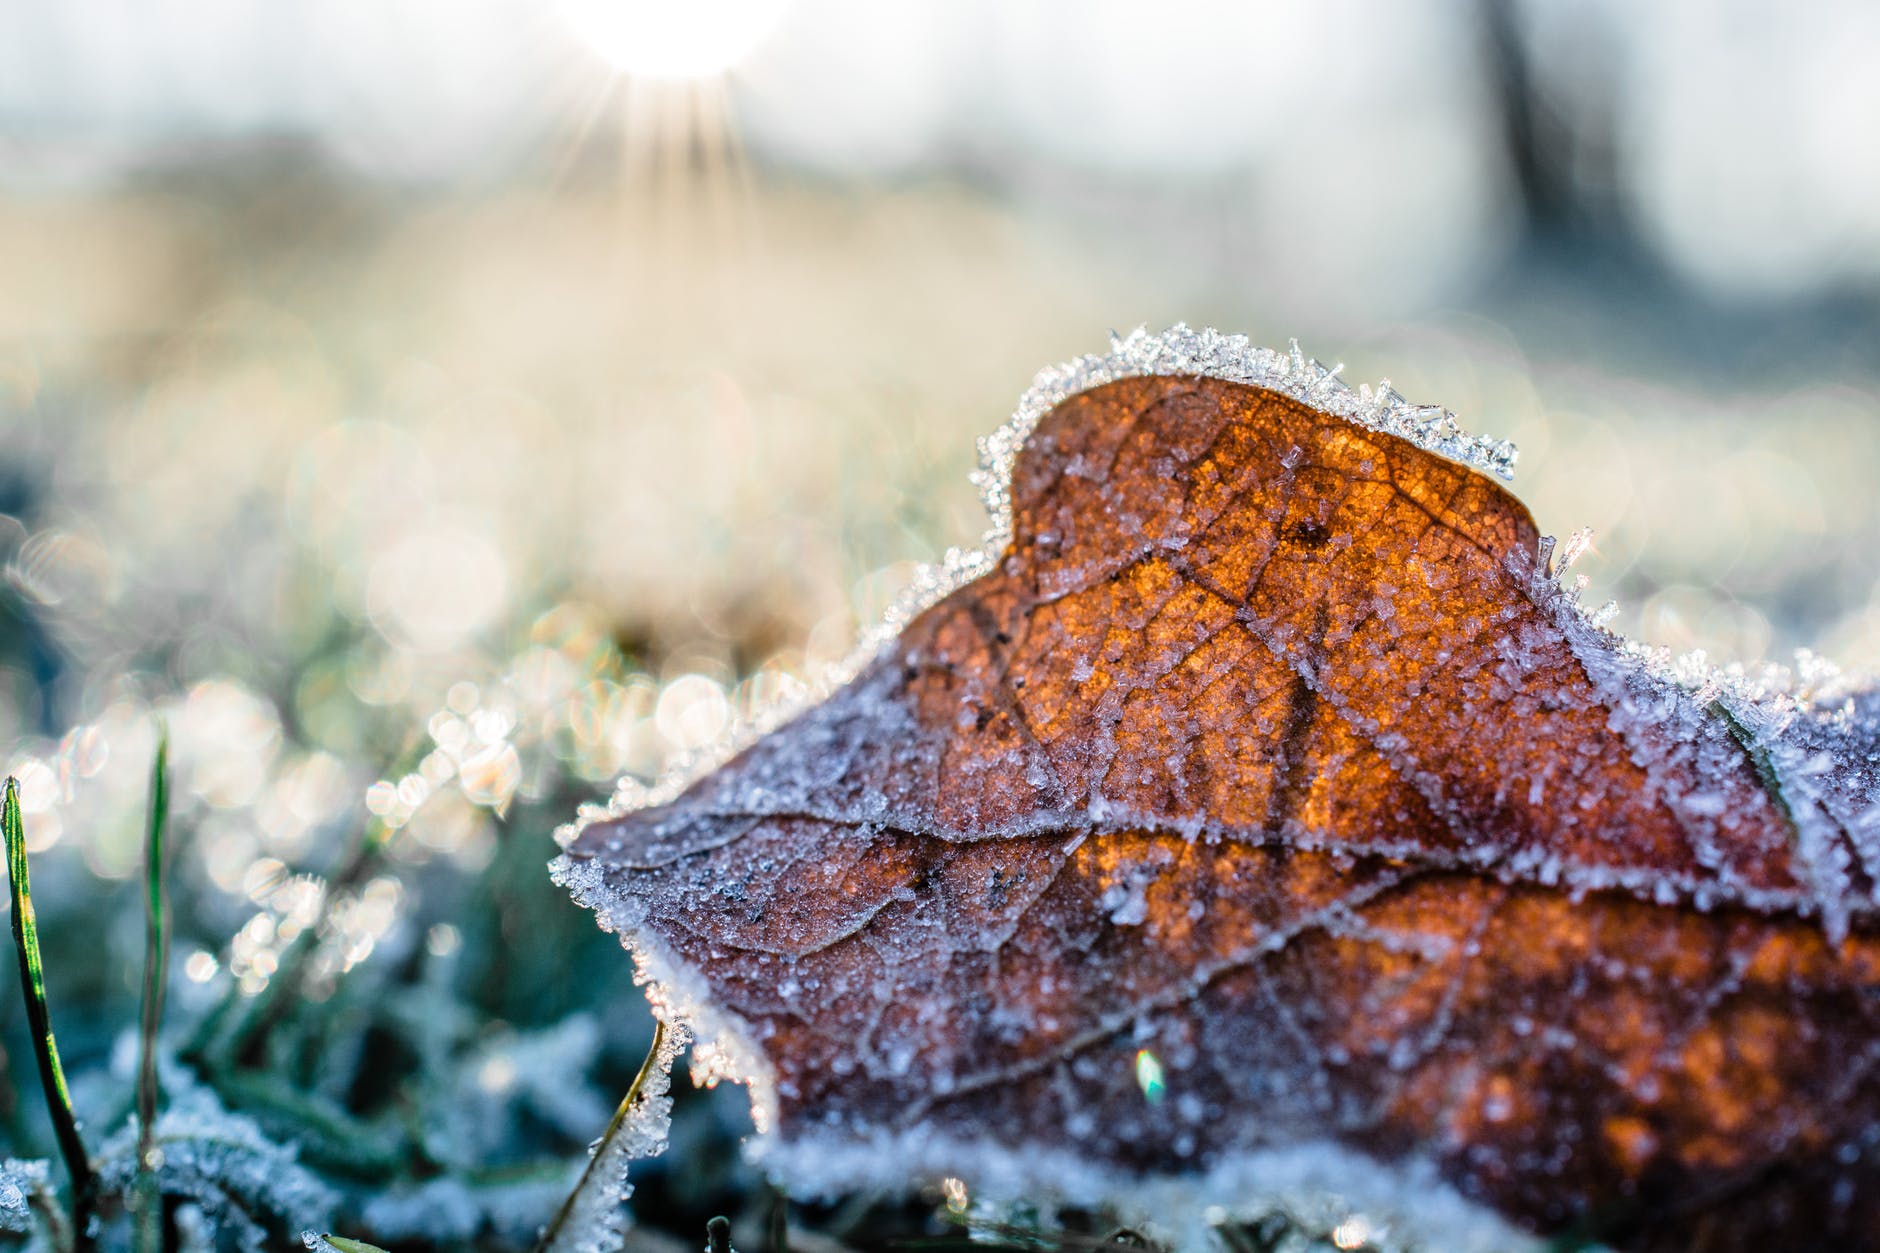
Before the first snowman is ever made, it’s important to winterize your flower beds. Like False Spring and Second Winter, Michigan and other Mid-west states are known for Fake Fall and Summer the Sequel. Therefore, clearing your beds too early can rob you of precious weeks or even months of beautiful blooms. Don’t let the first cool day fool you into thinking Autumn has officially arrived. Your plants won’t be phased by a little chill. They will, however, respond to a hard freeze. A hard freeze is where the temperature drops below freezing overnight and frost forms. Freezing temperatures trigger perennials to begin their metamorphosis for winter. After the first frost, you can safely assume your plants are ready to sleep for the cold months and won’t mind you helping them to prepare.
- Cut back any perennials to the ground. (A perennial is a plant that blooms on its own year after year, without you needing to replant it.) Make sure the plant is fully dead first with dry, brown leaves and petals.
- Cut down dead annual and vegetable plants to the ground. (An annual is a flower you plant each year and will not return on it’s own.)
- Remove any tender bulbs but leave the heartier ones for ease. I tend to leave my lilies, gladiolus, daffodils, and tulip bulbs over winter.)
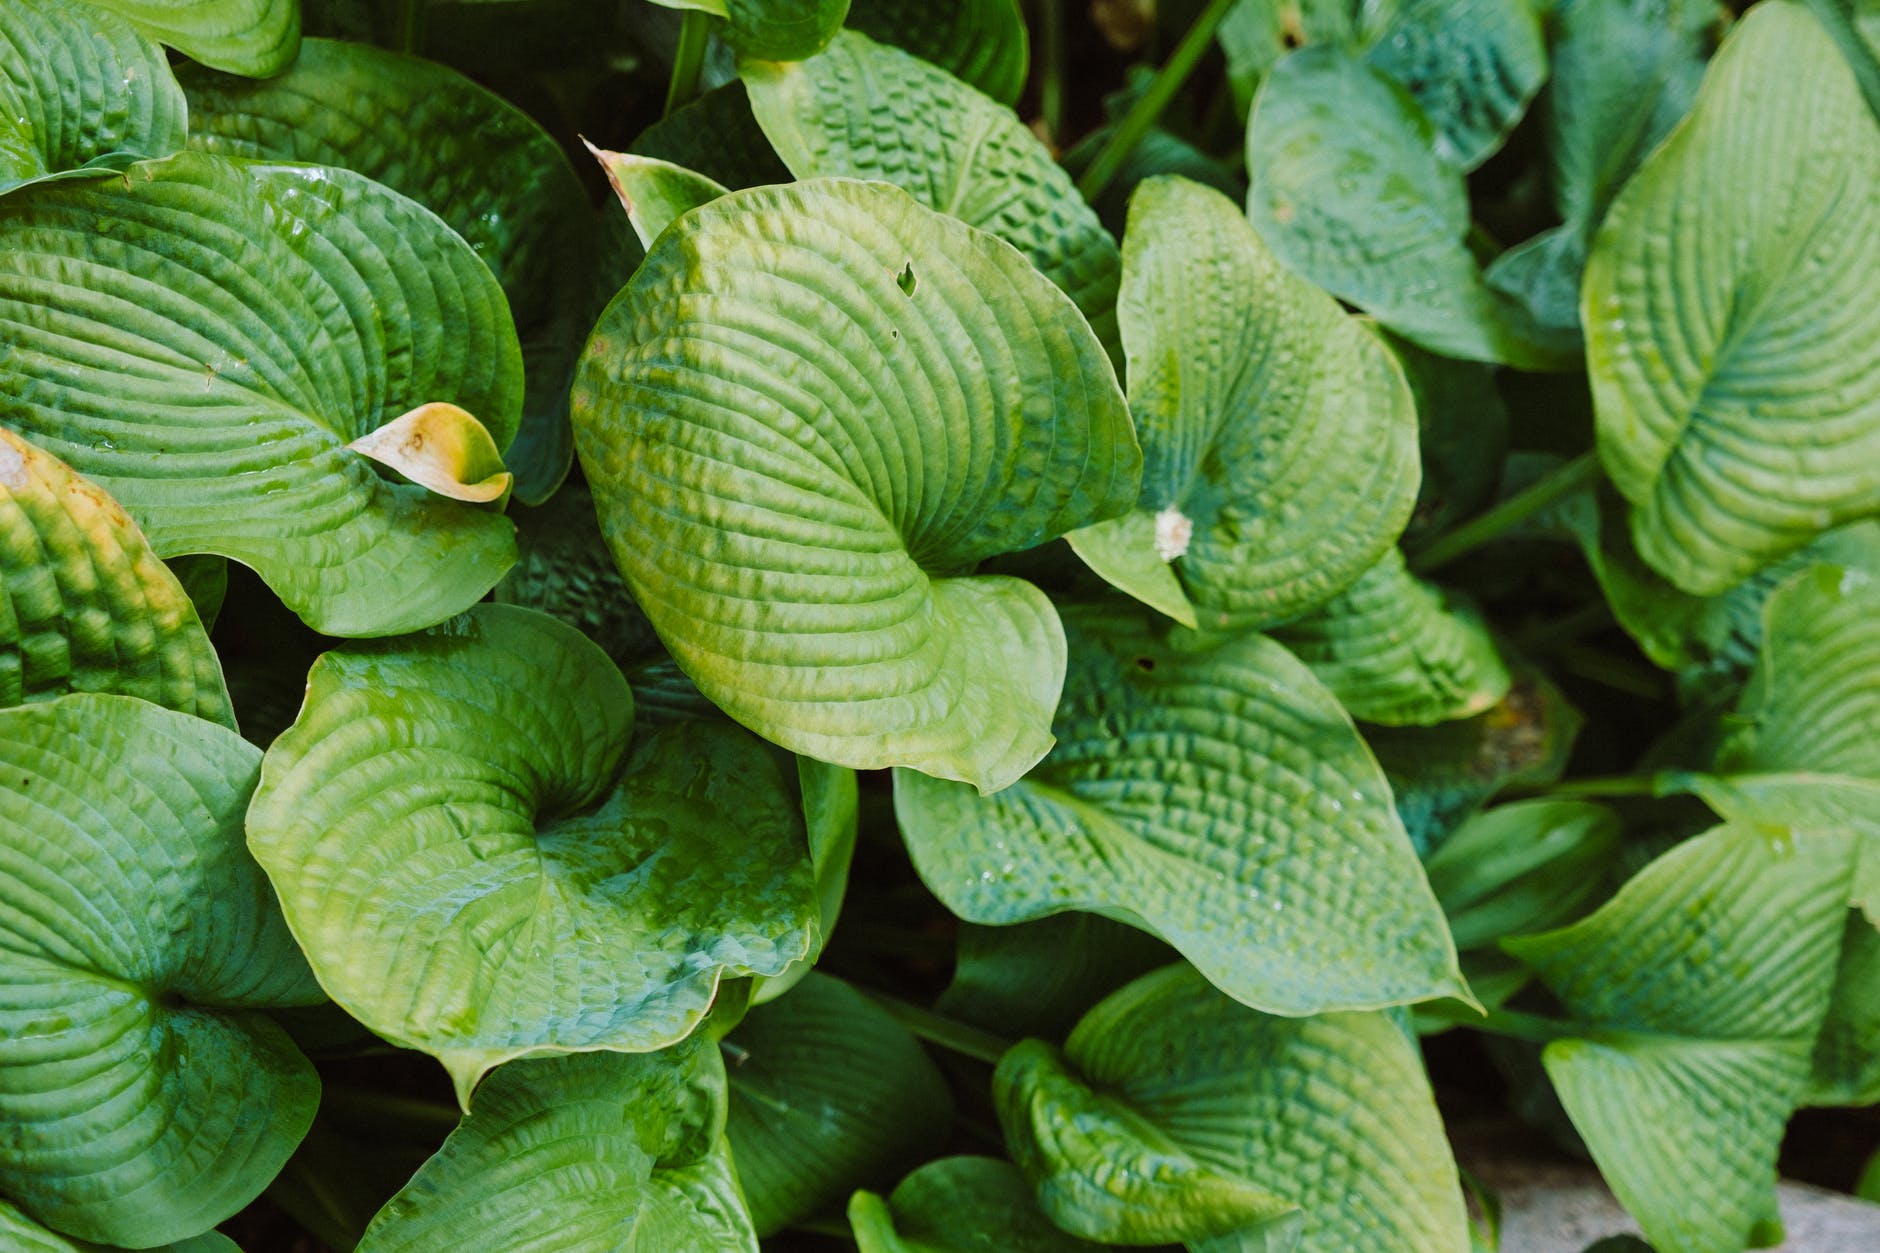
- Trim leafing perennials like hostas down to a few inches of stalk above the soil.
This is also a good time to weed and remove any dead leaves. Rotting plants and vegetables can subject your soils and dormant plants to disease, so it’s best to remove them to the root. If you have bushes or trees that can be affected negatively by frost and cold climates, wrap them up in a jacket before the first substantial snowfall. You can spend hundreds on fancy shrub jackets, or you can be economical with burlap and twine. Candidly, I find that the soft brown of burlap looks less obtrusive and gawdy than the expensive cloth outfits you buy from the store, and it costs a fraction of the price!
Fall Planting for Spring Blooms
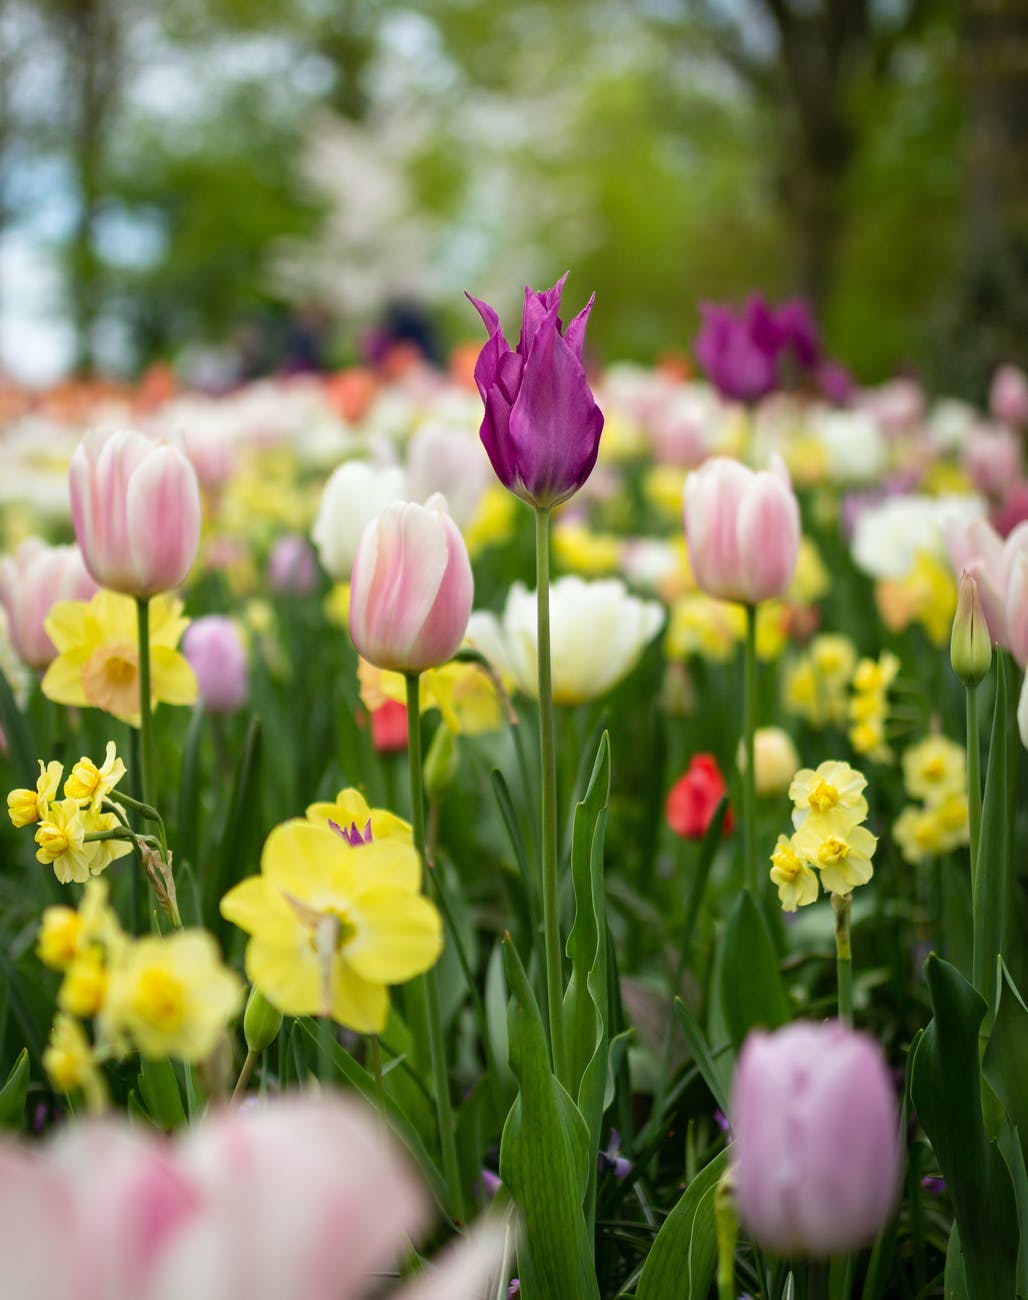
When you’re looking to add more of those iconic flowers that signal spring, these bulbs should be planted in the fall, and timing is everything. If you’ve been wearing a sweater for two weeks, it’s the perfect time to pop those seedlings into the soil for beautiful blooms when the weather warms. The best fall planting bulbs are tulips, daffodils, iris, hyacinth, and crocus. It’s important to make sure the soil is tilled and light. In other words, bulbs will rot if you plant them in excessively wet and heavy soil, so shoot for dryer conditions for your initial planting.
Pro Tip: Some plants, like hostas, can be split safely and relocated to open spots in your flower beds. While this can be done at any point during the year, Autumn is the perfect time for splitting plants because they are already done blooming and then will have all winter to “heal”. Come Spring, your split sprouts will grow back as fully fleshed out, beautiful plants. My mom and I call this our Autumn Hosta Cloning. Hostas, in particular, can be very expensive and this is one of my favorite gardening hacks to have lots and lots of plants, with little financial output. With a little patience, you can have a garden full of healthy, hearty hostas in just a few years!
When is Spring, Really Spring?
Similar to determining when to winterize your garden by waiting until the first real frost, you determine it’s spring gardening time when it’s the LAST frost. But how will you know it’s the (for real) last frost of the winter? Below is a helpful table depending upon your region that gives a date range for the average last frost of the year:
- Midwest: April 1 to May 1
- Northeast: May 1 – June 1
- Southeast: March 1 – April 1
- Northwest: April 1 – May 1
- South and West Coast: Jan 1 – Feb 1 (some places may never have frost)
Get Dirty
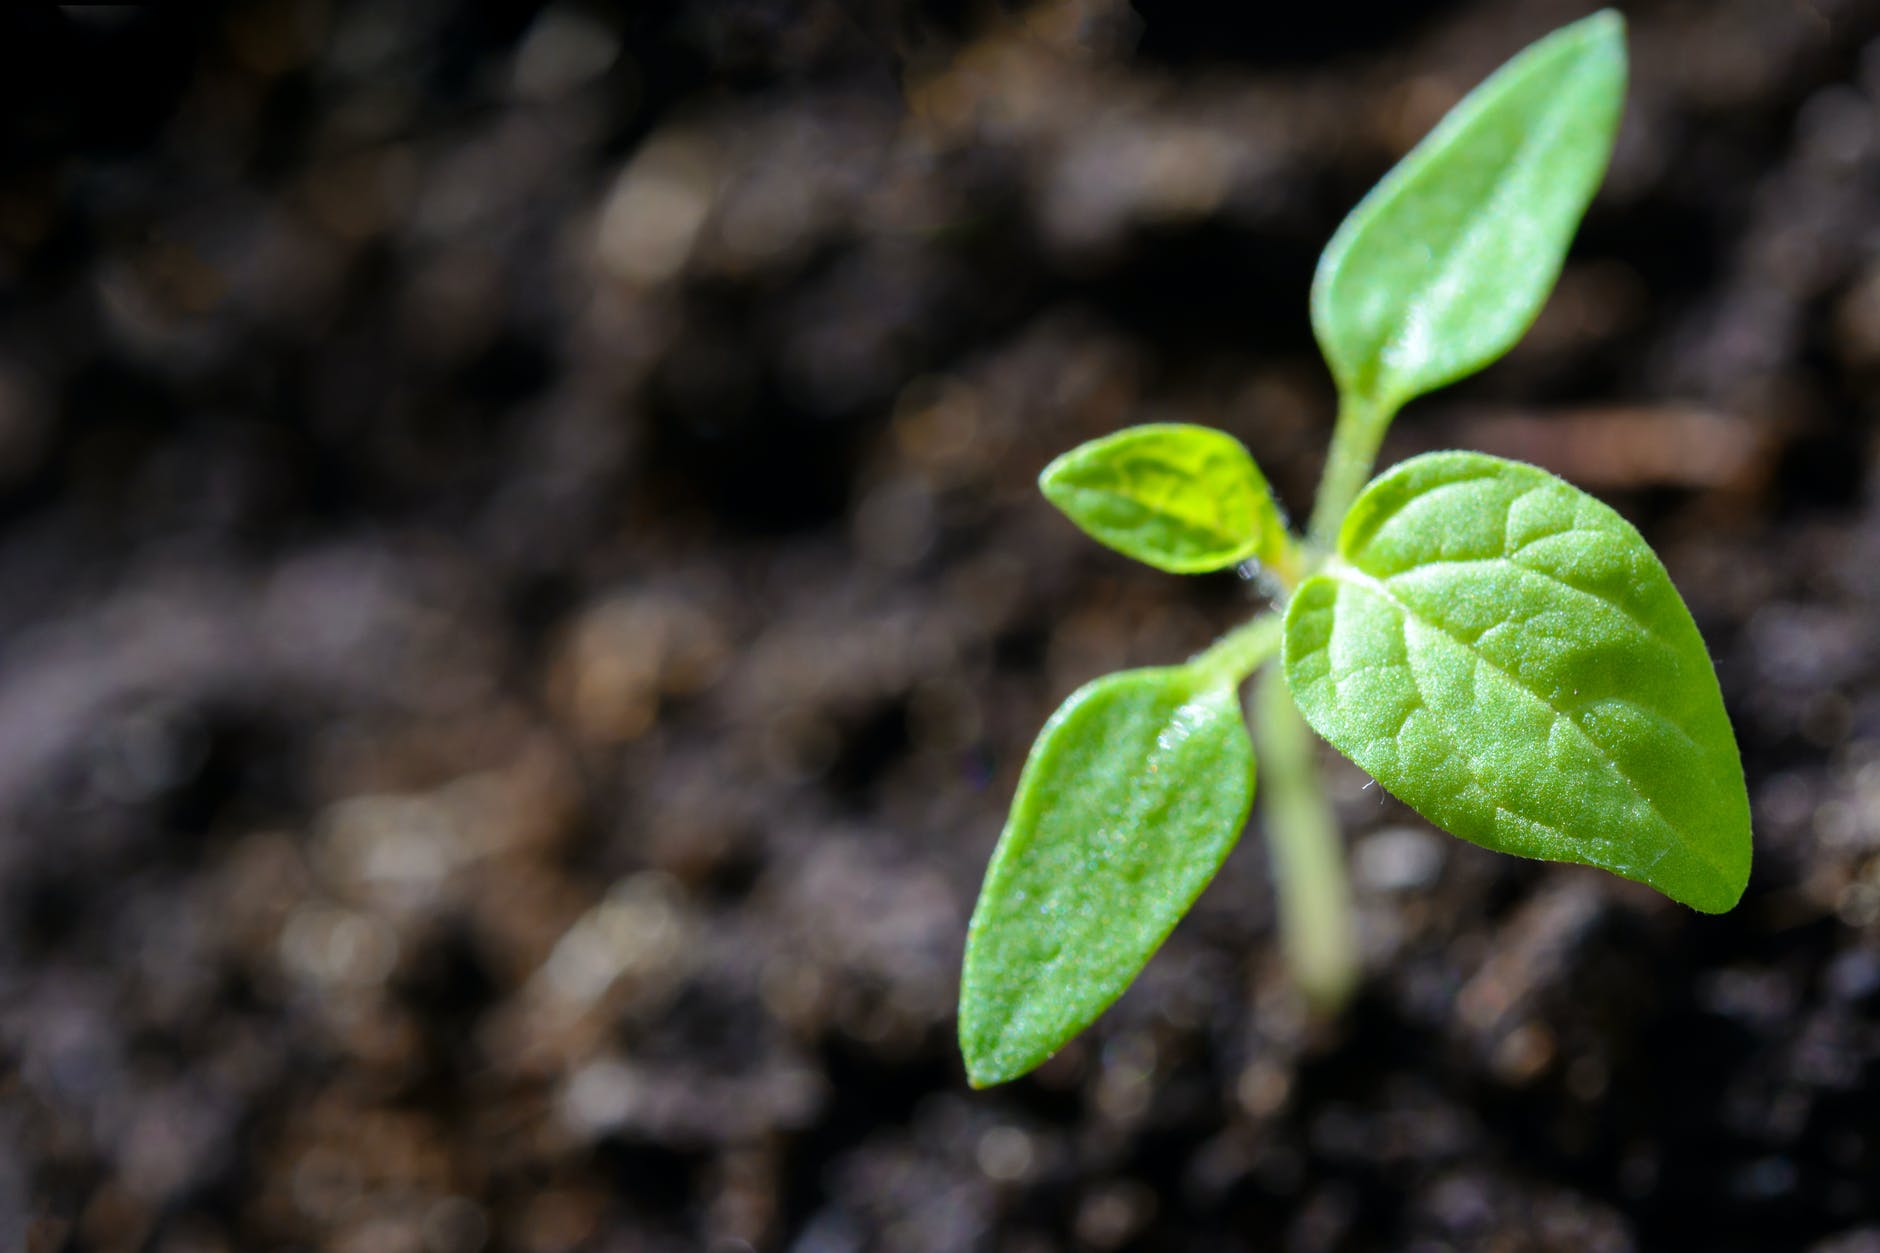
Once you are fairly confident the last frost is behind you, now is the time to start working your soil. Water and temperature are important, but so is the quality of your growing medium. Like a sprouting child, it’s essential to give your plants a robust blend of nutrients and minerals. A healthy soil mixture is key to providing your garden with the balanced diet it needs. First and foremost, you need a loose soil that will allow for roots to grow and spread unhindered. Overly damp and heavy soil can breed decay and rot away both bulbs and roots, so don’t saturate your dirt before planting.

It may come as a surprise that dirt isn’t just dirt. Quality soil is made up of a very bio-diverse community, and maintaining these busy little micro-organisms is essential not only for providing plants with minerals and nutrients, but also with protecting against pollutants. Furthermore, microbes help to aerate the soil, keeping it light and well-drained. Adding compost is one of the best ways to replenish and rejuvenate these micro-organisms, as well as maintaining a favorable pH level for quality growing. It’s no secret that earthworms are Nature’s little garden helpers and they are drawn to soil rich in compost. Compost is made up of decomposed organic material and yes, manure. While it may seem counter-intuitive, it will even help protect your garden from many common diseases and fungal infections.
Mulch is another garden hack that promotes favorable growing conditions. Mulch, also known as wood chips or tan bark, is typically shredded pieces of wood, bark, and leaves. While it may be a pain the first time you have to spread it around, it helps keep soil cool in the hottest of months and bulbs warmer during freezing conditions. In addition, it prevents weeds from growing and will save you hours of weeding over the summer. Since wood is organic, the chips decompose over time which adds organic material back into the soil and replenishes minerals and nutrients. Spread mulch generously but avoid compacting around the base of your plants. Mulch helps retain the right amount of moisture without over-saturation. After your initial installation, topping off your mulch each season is a relative breeze. The fun part of wood chips? You can now choose from different colors to add an artistic flare to your landscaping!
Planting
Once you’re relatively certain that the last of the frosts are behind you, now can be the time to start planting. Unlike the spring blooming bulbs you planted in the fall, summer and early fall flowers appreciate warmer soil and should be planted when the weather is consistently pleasant for a couple of weeks. These include gladiolus, lilies, and dahlias. Many of these, like lilies for example, can also survive the winter in the ground, but beware! Some tender bulbs like dahlias and cannas need to be removed from the soil before temperatures drop below freezing. Similar to your spring flowers, it’s best to plant when the soil isn’t overly damp and heavy. Always check the bulb packets to see how deep you should plant each bulb.
Pro Tip: Layer your spring and summer bulbs around each other, so that no matter what season, you have a continuous source of blooming beauties. It can be tempting to put all your tulips in one area, for example, but once early spring fades into summer, that area of your garden will be a bald patch. Pair early spring and early summer, late spring and late summer/early fall bulbs with each other.
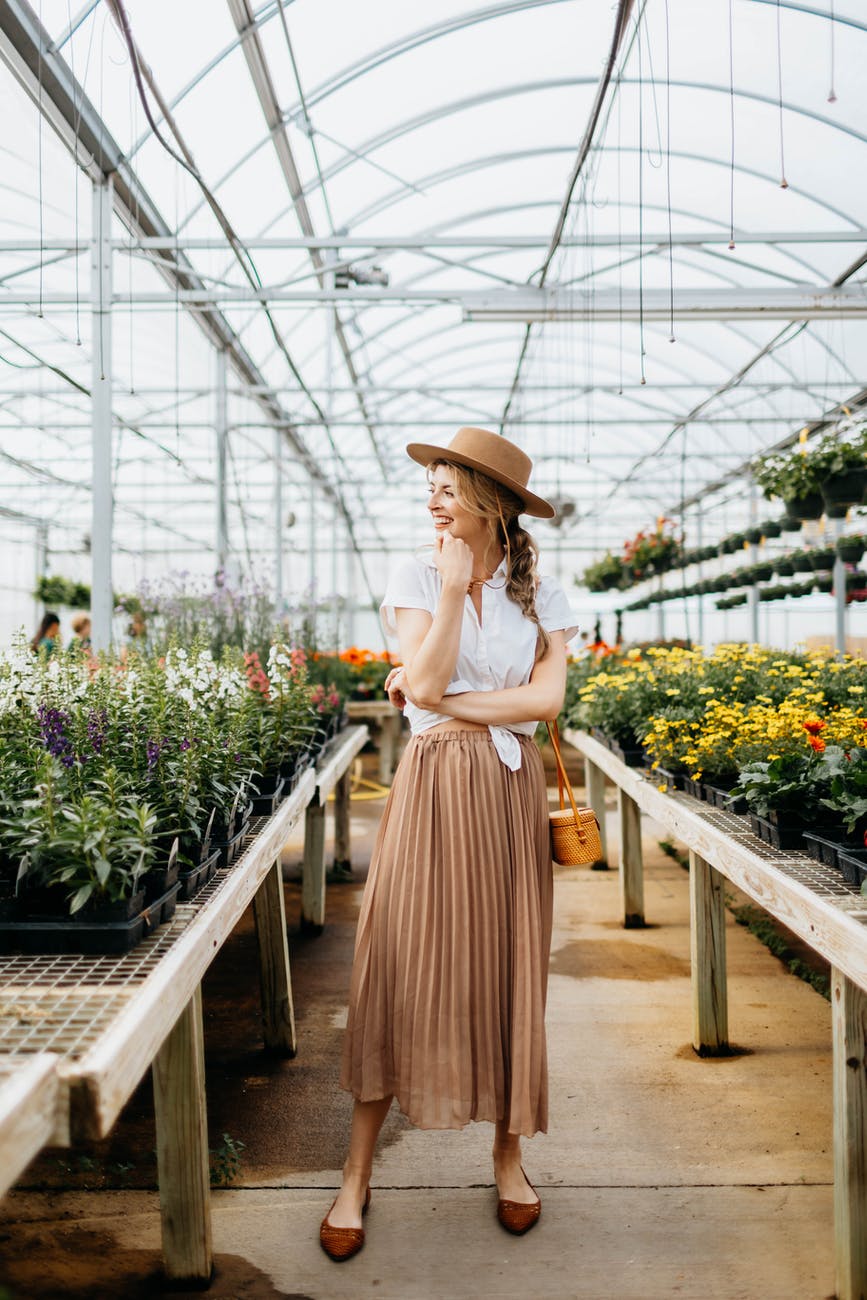
When planting annuals, the most convenient way to do so is to buy pre-sprouted plants in flats from your local nursery. While starting your own seeds can be satisfying, the time and care it takes can be overwhelming for a busy momma. Buying ready to plant flowers, vegetables, and herbs can save you time, money, and heart ache. In the Midwest, we never drop sprouted plants in the soil before Mother’s Day. It’s not uncommon in Michigan to see countless ladies of the neighborhood up to their elbows in topsoil Mother’s Day weekend, making their gardens come alive with brightly colored blooms.
Pro Tip: Buying plants from the nursery can sometimes be a daunting task. When selecting a flat of blooms, don’t pick the prettiest flowers. If they are already open and lovely, they have reached their peak and won’t last as long in your garden. In addition, fully bloomed flowers are focusing all their energy and nutrients into keeping perfectly bright petals, rather than growing a strong root structure. Use these gorgeous plants as a reference, but select plants with lots of unopened buds. Inspect the leaves, and ensure they are free of spots, robust looking, and sturdy. Lastly, know the rough dimensions of the area you are trying to plant to ensure you don’t under or over purchase. Pay close attention to the information cards with each type of plant to determine how far apart they should be planted. For example, if you have a two foot by two foot section and you want to plant marigolds that require six inches in between plants, you can reasonably estimate that you will need 16 plants to fill the area in entirely.
Protecting Your Garden
Not everyone appreciates all your hard work to get the perfect landscaping. Pesky critters like deer, moles, rabbits, and even the neighborhood cat can waylay your best made plans. Once you have your garden planted and are enjoying the fruits (or vegetables) of your labors, now you need to protect them from Nature’s little saboteurs.

Deer can be the most harmful to your blooms than all the other critters. In Michigan, few areas are safe from these spindly-legged fiends, and even in my suburban neighborhood, my hostas and lilies are under constant attack. There are a few methods I have found that yield actual results without breaking the bank.
- As fragile blooms and shoots start to poke through the soil, deer love to munch on these tender niblets. Teach the deer early that you are one gardener that’s not to be messed with! Head to your local grocery store where you can buy packets of bamboo BBQ skewers for just a few bucks. Grab a bunch and surround your vulnerable baby plants in a ring of skewers, pointy side up. Don’t worry about truly hurting the deer. According to my sister who is a vet, the deer won’t impale themselves on the sticks or even draw blood. One or two superficial pokes will be enough to warn the whole herd.
- Deer can be feisty but they are opportunistic feeders. If they feel a garden yields too much danger, they’ll move on to easier fare. If you have a large breed dog, spreading your pooch’s fur among your plants can signal to the deer that danger is nearby. The bonus with dog hair is that it will deter other small animals like bunnies and the neighborhood cat from dallying in your soil.
- Coyote pee can be another valuable tool to keeping the deer at a distance, as well as many other critters. Purchased from specialty greenhouses or online, this urinary wonder requires just a few drops on a cotton ball in a small plastic jar. Place a number of these jars strategically around your flower and vegetable beds. Pro Tip: Don’t worry about attracting coyotes as they are territorial and won’t want to intrude on another “pack’s” area.
- If coyote pee isn’t your thing, a great product by Safer called “Critter Ridder: Deer and Rabbit Repellent” has worked wonders for me. Full and fair disclosure… this stuff smells AWFUL in the beginning, but it dries odorless after about an hour or so. After the initial application, humans won’t smell a thing. The same can’t be said for the critters invading your garden. This potent stuff is safe, but tastes awful to anyone munching on your plants. I have videos on my home security camera of a young deer literally spitting out a hosta leaf after taking a bite of a plant recently treated with Critter Ridder. Reapply every 90 days and animals will quickly learn there’s nothing delicious about your flora. I recommend doing your research about whether to use this product on vegetable gardens where humans are ingesting any of the plants.
Birds and rabbits can be persistent against berry bushes and other low lying fruit and vegetables. Consider a fine mesh netting to cover your plants that makes it difficult for little paws and beaks to pull away with your precious bounty. Remember, most creatures are opportunistic, so the more difficult you make it, the less likely they are to keep coming back.
With the weather warming up and the snow melting away into the grass, it’s time to start thinking about getting your yard dressed to impress. Hopefully this quick and simple guide gives you a starting point to flex that green thumb. Happy gardening!


You May Also Like

Mom Hack Monday: World’s Easiest Entertaining Buffet!

Mom Hack Monday: Fun Shapes Make All the Difference